Have you ever imagined to build a JavaScript document scanning solution for Windows, Linux, and macOS from one single codebase? To make it, you need to find a solution that compatible with different scanner driver types: TWAIN for Windows, SANE for Linux, TWAIN, and ICA for macOS. A good news is that Dynamsoft has released the beta version of Dynamic Web TWAIN for Linux, which means the JavaScript document scanning SDK finally supports all desktop operating systems. In this article, I will show you how to create a simple cross-platform document scanner using Dynamic Web TWAIN with a few lines of code.

JavaScript Document Scanning with Node.js
- Download Node.js installer
- Create a new project document-scanning. Initialize the project with the following command:
npm init
- Download Express and Dynamic Web TWAIN:
npm install express -–save
npm install dwt --save
- Create an HTML document for front-end.
To initialize Dynamic Web TWAIN object, include:<script type="text/javascript" src="node_modules/dwt/dist/dynamsoft.webtwain.initiate.js"></script> <script type="text/javascript" src="node_modules/dwt/dist/dynamsoft.webtwain.config.js"></script>
Change the resource path in node_modules/dwt/dist/dynamsoft.webtwain.config.js:
Dynamsoft.WebTwainEnv.ResourcesPath = '<Resource Directory>';
Register an event listener:
Dynamsoft.WebTwainEnv.RegisterEvent('OnWebTwainReady', Dynamsoft_OnReady);  // Register OnWebTwainReady event. This event fires as soon as Dynamic Web TWAIN is initialized and ready to be used

var DWObject;
function Dynamsoft_OnReady() {
            DWObject = Dynamsoft.WebTwainEnv.GetWebTwain('dwtcontrolContainer');    // Get the Dynamic Web TWAIN object that is embeded in the div with id 'dwtcontrolContainer'
            if (DWObject) {
                if (window.navigator.platform.indexOf("Linux") !== -1) {
                    DWObject.ImageCaptureDriverType = 3;
                }

                var count = DWObject.SourceCount;
                for (var i = 0; i < count; i++)
                    document.getElementById("source").options.add(new Option(DWObject.GetSourceNameItems(i), i)); // Get Data Source names from Data Source Manager and put them in a drop-down box
            }
}
Trigger document scanning:
function AcquireImage() {
            if (DWObject) {
		var OnAcquireImageSuccess, OnAcquireImageFailure;
		OnAcquireImageSuccess = OnAcquireImageFailure = function (){
			DWObject.CloseSource();
		};

                DWObject.SelectSourceByIndex(document.getElementById("source").selectedIndex); //Use method SelectSourceByIndex to avoid the 'Select Source' dialog
                DWObject.OpenSource();
                DWObject.IfDisableSourceAfterAcquire = true;	// Scanner source will be disabled/closed automatically after the scan.
                DWObject.AcquireImage(OnAcquireImageSuccess, OnAcquireImageFailure);
            }
}
To make code work on Linux, you need to specify the driver type:
DWObject.ImageCaptureDriverType = 3;
- Create server.js for back-end:
var express = require('express');
var app = express();

app.use(express.static(__dirname));
app.use(function(req, res, next) {
  res.header("Access-Control-Allow-Origin", "*");
  res.header("Access-Control-Allow-Methods", "PUT, POST, GET, DELETE, OPTIONS");
  res.header("Access-Control-Allow-Headers", "X-Requested-With, content-type");
  res.header("Access-Control-Allow-Credentials", true);
  next();
});

var server = app.listen(2016, function() {
    var host = server.address().address;
    var port = server.address().port;
    console.log('listening at http://%s:%s', host, port);
});
- Start the server:
node server.js
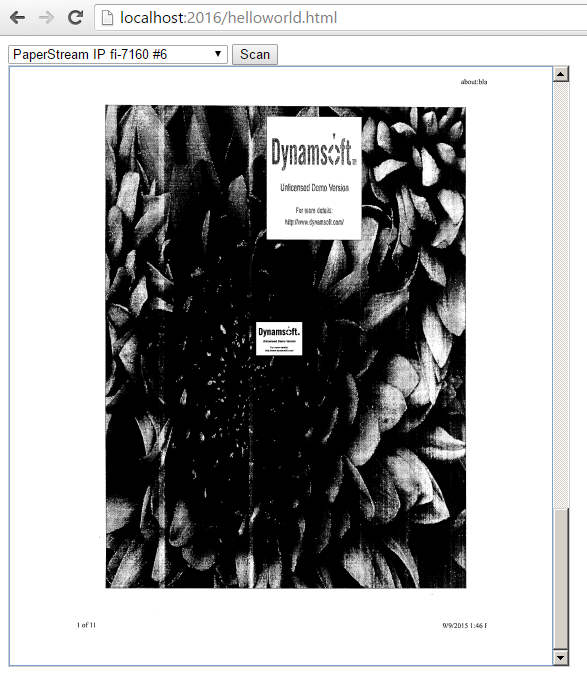
- Open http://localhost:2016/helloworld.html in web browsers:
- Windows: IE, Edge, Chrome, Firefox
- Linux: Chrome and Firefox
- macOS: Chrome, Firefox, and Safari
Source Code
https://github.com/yushulx/document-scanning
The post JavaScript Document Scanning for Windows, Linux and macOS appeared first on Code Pool.